Hello everyone!
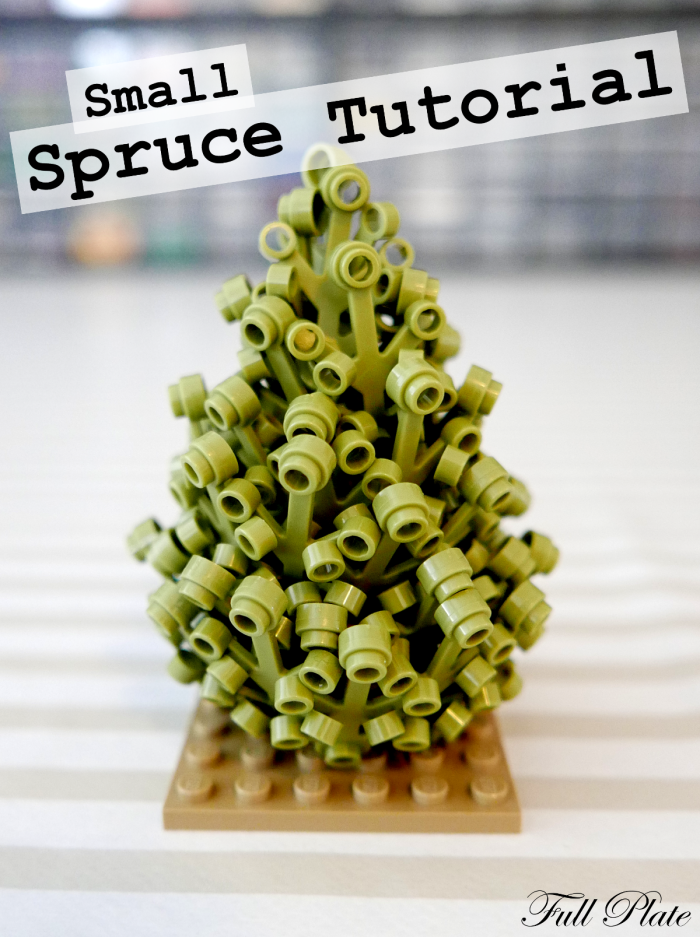
In my previous tutorial I showed how to build a spruce out of lego. The trees build using that technique can have a varied size, but even at its smallest the trees will still be quite big. So what to do if you want a smaller tree?
Have no fear! In this tutorial we will check out a different technique that can be used to build the same type of tree, but at a smaller scale. If we really scale it down it can even be used for bushes and such as well.
First off, like in my previous tutorial, I would like to point out that this technique puts some stress on your leaf elements, especially the top part. Yes, leaf elements are flexible, which is the reason this can be done in the first place, but with time a bit of strain could possibly lead to cracks or even parts breaking. I have personally never had this happen, but I have also not been utilising weaving for very long. People with longer experience with this style of building has informed me that this can happen. So, utilise this technique at your own risk. The result looks great, but you may lose some elements due to breakage. Just wanted to be clear on that 🙂
Conceptually, this tree technique is similar to the one described in my previous tutorial. They both utilise weaving of leaf elements which means they have a similar look, which is desirable as these two techniques are meant to work well being put side by side in a build.
There are a couple of key differences though. Firstly, this tree uses small leaf elements rather than big, which is pretty natural as we’re trying to build a smaller tree. Secondly, in this tree the tips of the leaves are pointed diagonally upwards rather than downwards. And lastly, there is no real trunk in this tree, as the branches go all the way down to the ground.
Enough talk! Let’s get into it 🙂
This is how the basic weaving is done.

We keep adding more leaf elements and interlock them to finally create a ring made out of 6 leaves. Make sure to alterate whether to lock the element high or low, or things will not sit together very well.
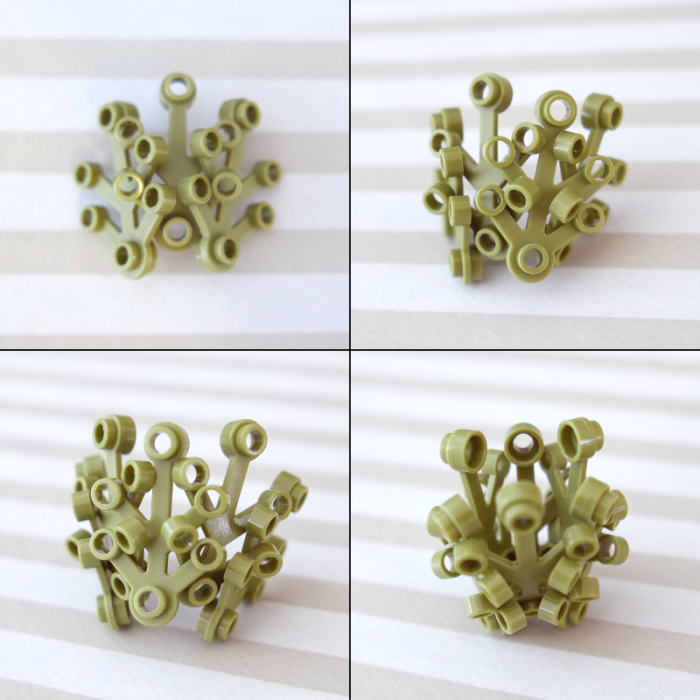
We now have a ring of size 6! This will be part of the top of the tree, but we need a more pointy part to put in the center. We essentially have two options for this. One that looks nice and one that looks erm… less nice?

These are essentially also rings, but of size 3 or 4. Size 3, which is on the left, gives a much nicer top, with one single stud sticking up. Size 4 looks a bit too symmetrical to me and the top is two studs next to each other.
So why use size 4 at all? It is easier to put together, and though it does put some strain on the element, it is significantly less than the size 3 option, which really tests the limits of how flexible a flexible element really is. Try putting a size 3 together and you’ll see what I mean 🙂 Still, I am all about the aesthetics, so in this tutorial I will proceed with a size 3 top 🙂
Whatever top you choose can now be slotted into the size 6 ring like this.

You may have to move it around a bit to find a position where it locks in well.
Now, this could already be used stand alone as a bush or a very small spruce. If we’d like to use this as is, we can attach it to the ground using a tap.

When I do this I like to also add a 1×1 plate or round plate in the same colour as the leaves to cover the hollow stud where the tap is connected.

We can then just attach the tap to the ground and we have our bush. I usually hide the tap with other foliage when using this as a bush, but you don’t have to, especially if you choose the right colour for your tap.

Of course, this is a tutorial about a tree, so let’s keep on building 🙂
For a tree we need a slightly different type of attachment mechanism using the pieces shown below.

We attach these similarily to how we did for the bush, but now we have a hole for a bar rather than a stud at the bottom.
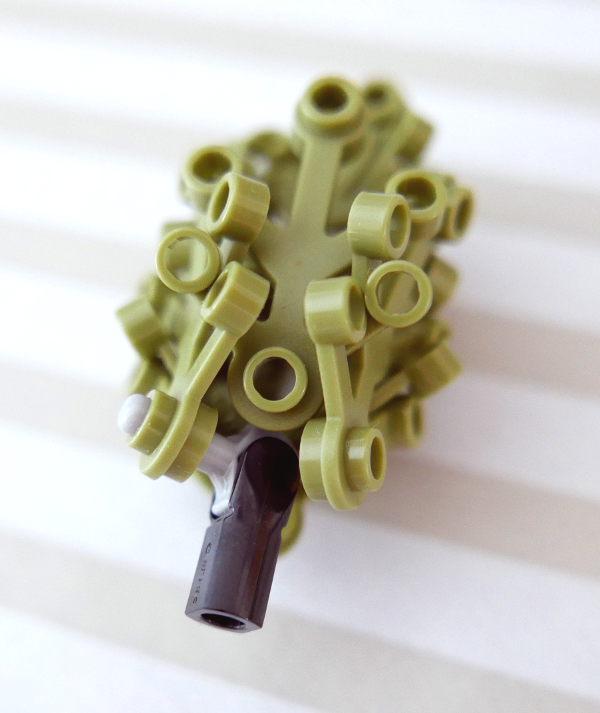
Unsurprisingly this will be a attached to a bar of some length, which will be our central structure. How long a bar we need depends on the height of the tree, but for this tutorial we will use a normal 4L bar and attach it to the ground somehow.

This is the only part of the tree actually attached to the ground. The rest will be rings that are squeezed together and held in place by the top part.
So let’s make the rest of the rings. For this tree we will go with 1 size 8 ring, 2 size 10 rings and 1 size 12 ring as seen below.
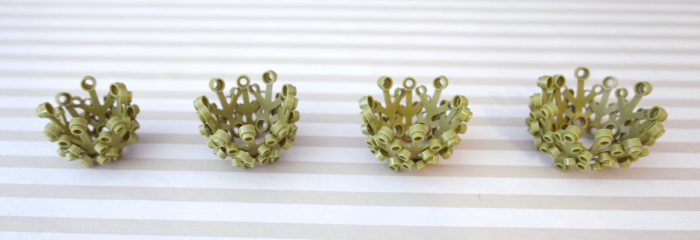
We then stack them on top of each other.
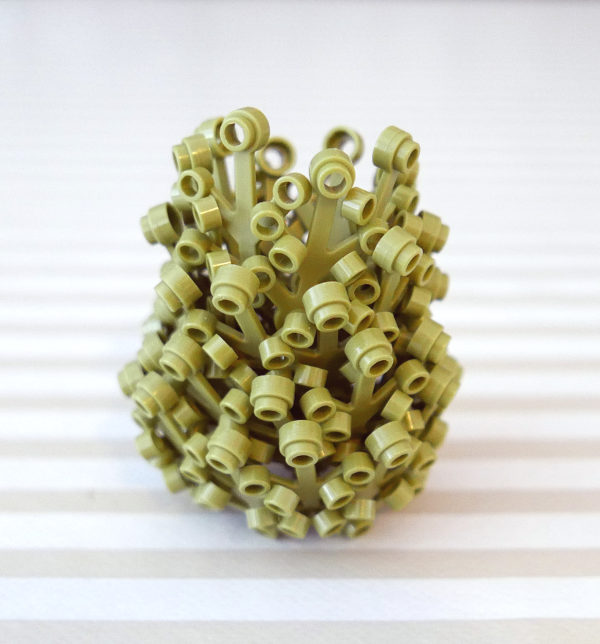
Lastly, we put this on the ground and kind of pin it down with the top part, holding all the rings in place. We then have our final result.

Tada!
If you want a taller tree you can instead use a 6L bar, or even higher. You would, of course, have to build more rings to be able to fill the tree out. You can also affect the shape of the tree by choosing different sizes for the rings. Just experiment and you’ll find something that works for what you’re building 🙂
Hope you liked the tutorial, and hopefully it will be useful for some future creations 🙂
Happy building!


I used this technique with the leaves angled down. It worked ok but I like your way better!
LikeLiked by 1 person
When I first experimented with it, I did them same, but I found it hard to get a good top that way, so I switched to angled up, and I feel it works pretty ok, at least for small trees.
LikeLike
“For a tree we need a slightly different type of attachment mechanism using the pieces shown below.”
What are these pieces called? I can’t find them :S
LikeLike
These two are called 48729b “Bar 1L with Clip Mechanical Claw, Cut Edges and Hole on Side” and 23443 “Bar Holder with Handle” on Brickllink. Both are under Parts:Bar
LikeLike