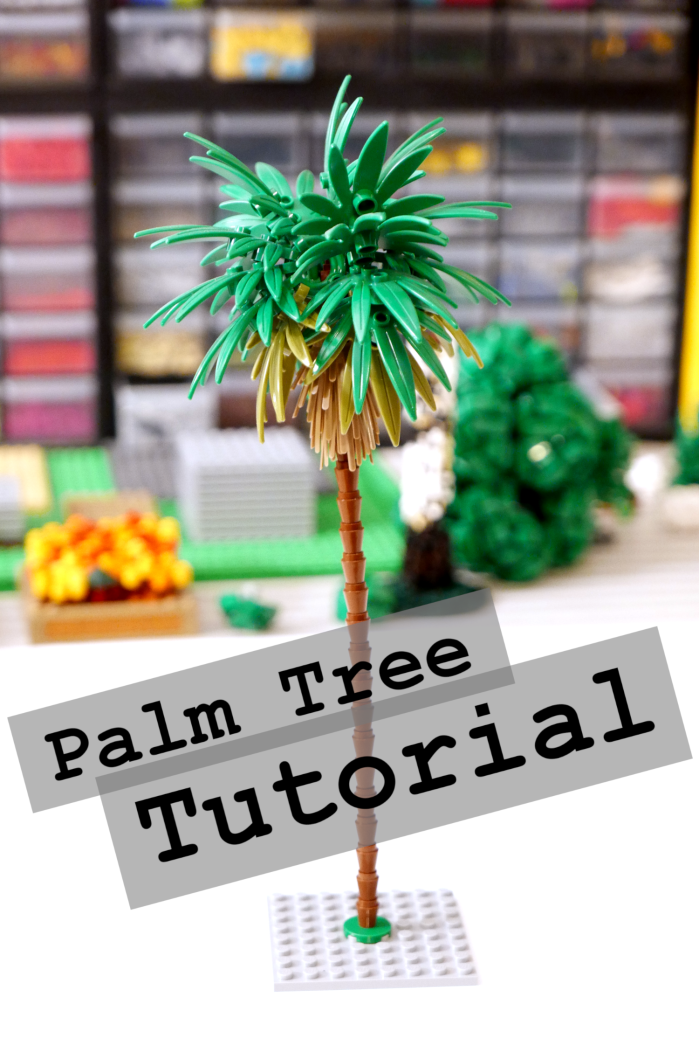
A short tutorial showing how palm trees can be built.
This is by no means my design, or anything new for that matter. But I had to make a tutorial for it for a tree building workshop I held recently, so I figured I might as well post it 🙂
The design is rather commonplace I think and I have no idea who first came up with it, but when I was going to build one I wasn’t sure how people had put the top together. I went with green flotation devices as the attachment piece for the leaves, which I suspect is not how it’s usually done, but it works 🙂
First, let’s have a look at what we need.
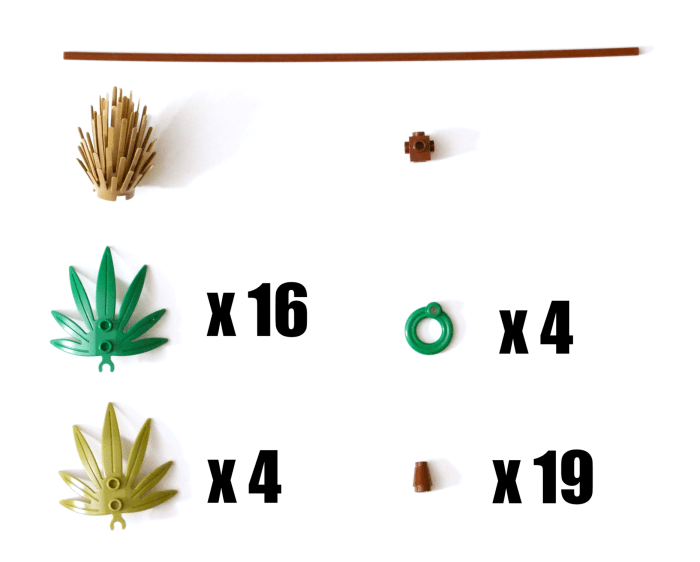
This is for a rather tall palm tree, but if you’d like a shorter one you can just go with a shorter flex tube and fewer cones. The trunk can also easily be built with the special palm tree pieces if you have any.
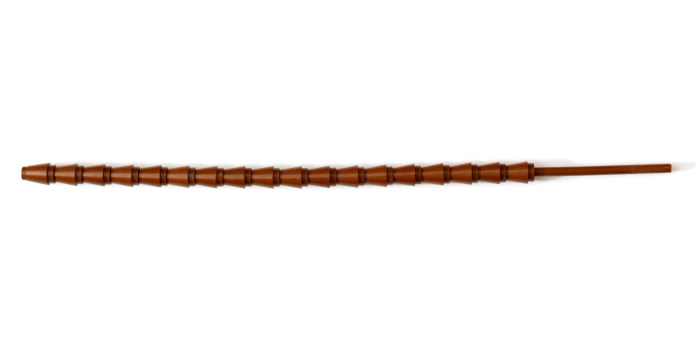
The trunk is made by threading on cones on the flex tube. This design makes the trunk rather flexible and you can affect the stiffness of it by pushing the cones together tighter. Leave about 5 bricks worth of flex tube empty at the top.
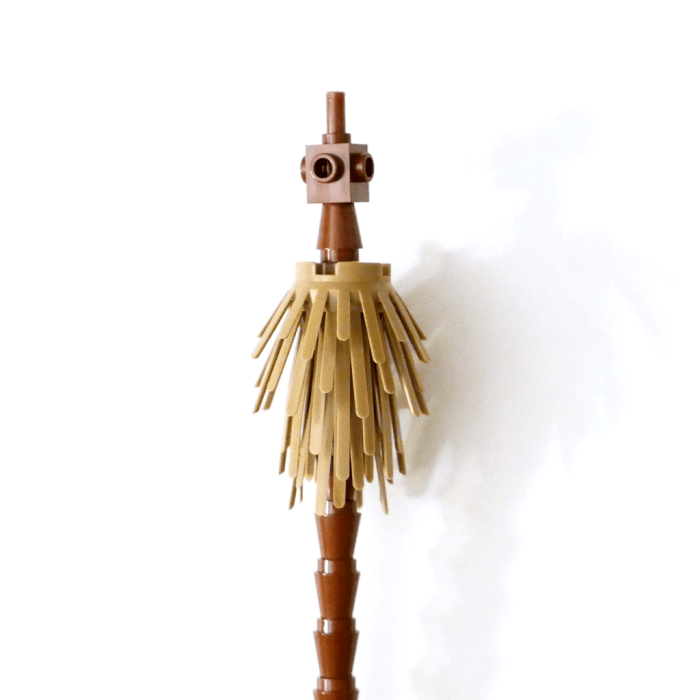
Now we thread on the dark tan bush upside down, followed by another cone and then a travis brick.
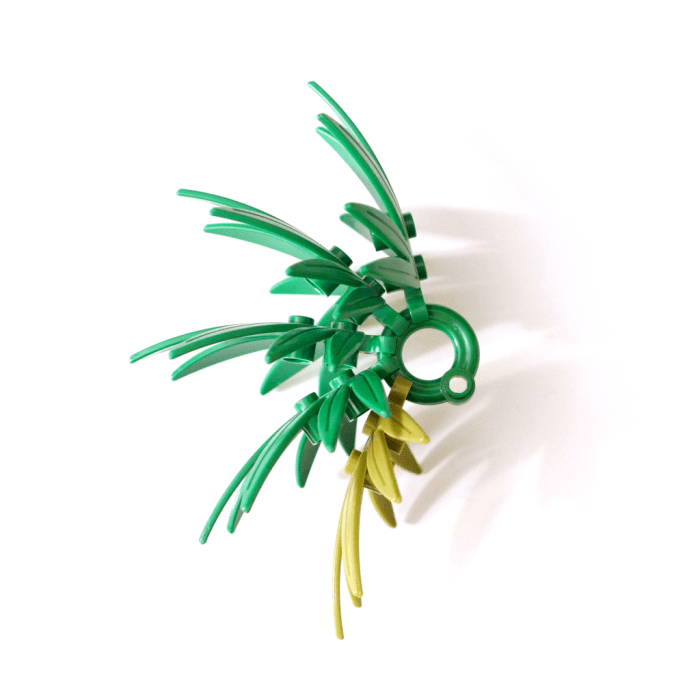
For leaves we’ll use 4 flotation devices with 5 swordleaves attached to each as shown above. I like to use a olive green leaf at the bottom to simulate the transition from healthy to wilter leaves.
I usually attach the leaves to the flotation device before attached the flotation device to the palm tree. I find this easier and faster compared to attaching the flotation device to the palm tree first. However, attaching the last set to the palm tree can be a bit tricky as you have no good point to provide counter force and quite often a few leaves tend to fall off. If you find it too hard, then attach the flotation device first and then the leaves.

Pay attention to the angle of the flotation device. It’s important that it only sticks out on one side, or it will block the other flotation devices being attached later.

This is how it looks once all 4 sets are attached. You may have to readjust the leaves as you go along so that there isn’t too much collision between the leaves.
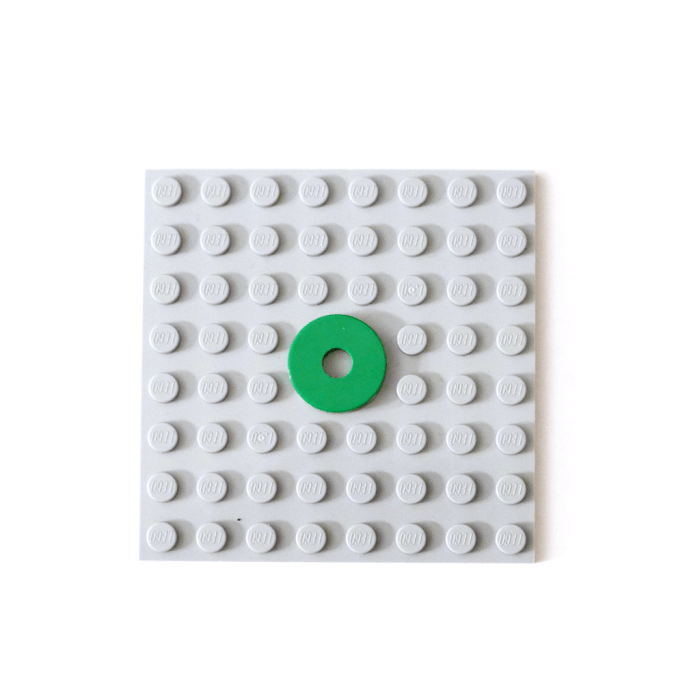
The palm tree has a stud on the bottom a good way to attach it to the ground is through a one of these green 2×2 round tiles with a hole in the middle. Other ways of attachment are also possible. You can also attach it via the central flex tube if you remove a cone or two on the bottom. Either way, the attachment needs to be quite sturdy, especially if you intend to have a nice bend to the palm tree.

The finished product! Hope you find it useful 🙂


where did you get the flex tube?
LikeLike
I won some in a contest, but you can get them from Bricklink 🙂
LikeLike
Spot on!
LikeLike