Hello everyone!
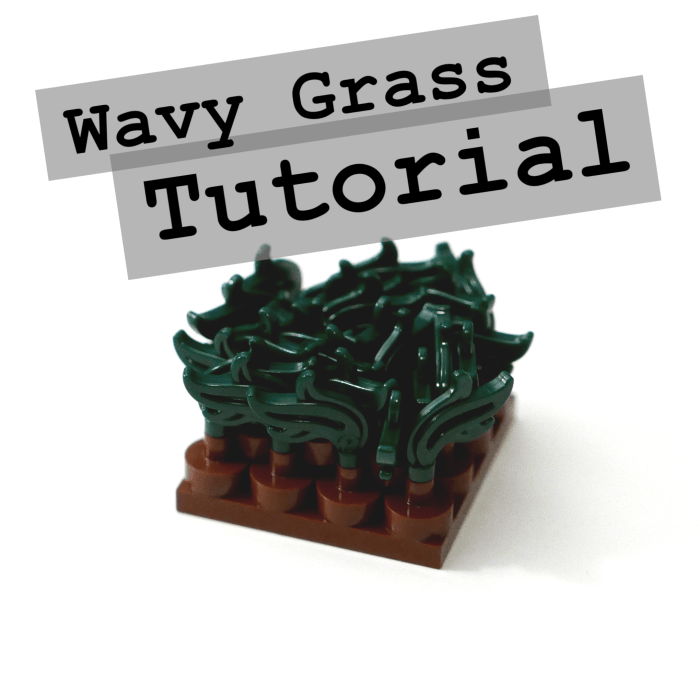
Decided to make a tutorial covering another technique from my Element Experimentation series. This time I will describe how to make wavy grass from plumes. We’ll be making a small 4×4 plate with grass just to show how the technique works, but this can easily be expanded to fit your needs.
The technique is based around two elements:
64647 – Minifig, Plume Feather Triple Compact / Flame / Water
20482 – Tile, Round 1 x 1 with Bar and Pin Holder
We’ll need almost 2 of these per stud that we’re trying to cover, so it’s a rather bit-intensive technique, especially when trying to cover big areas.
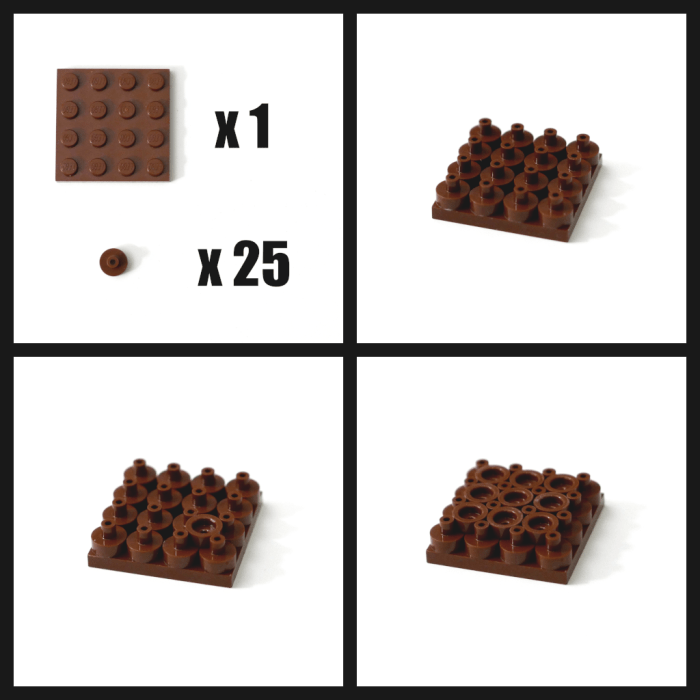
Let’s start by making the base. First we’ll cover the whole 4×4 plate with pin holders, 16 in total, as shown in the top row. The 9 pin holder that are left are then slotted in, upside down, into the holes at the intersection between 4 studs, as shown in the bottom row. Yes, this means the 9 upside down pin holders are not attached to the plate, but don’t worry, they will be held in place later 🙂
Now we’ll move on to attaching the plumes. I’d advice to start from the middle and working your way out. Note that it is possible to attach plumes on both sides of a pin holder, so we’ll attach plumes into every pin hole, even the upside down ones.
Attaching the plumes is an iterative and organic process. There shouldn’t be a rule to which direction to use. Just keep attaching them and try to change directions of the plumes as much as possible. This ensures that there are not prevalent patterns in the grass, just like natural grass.

As you keep attaching you may notice that in some places there may not be enough space to attach a plume in every hole. That’s fine, as long as it doesn’t leave a gaping hole in the lawn. If so, try to redirect some of the plumes surrounding the area, but if it looks fine, just leave it as it is, and be happy that you saved yourself one plume element 🙂
That being said, I’d advice to make sure that you do not skip attaching plumes into any of the pin holders that are attached to the plate. This is because it is the plumes attached to the plate that hold the non-attached pin holders in place. If you skip too many of these, the upside down pin holders may not stay in place.
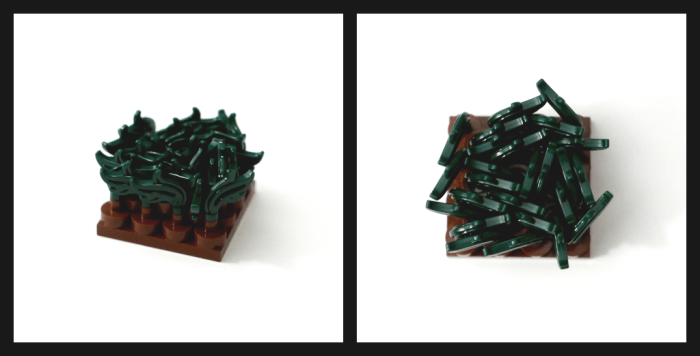
When all plumes are attached it may look something like the above. The top view should give you a rough idea of how the plumes can be directed to fit as many as possible in.
And that’s about it actually 🙂
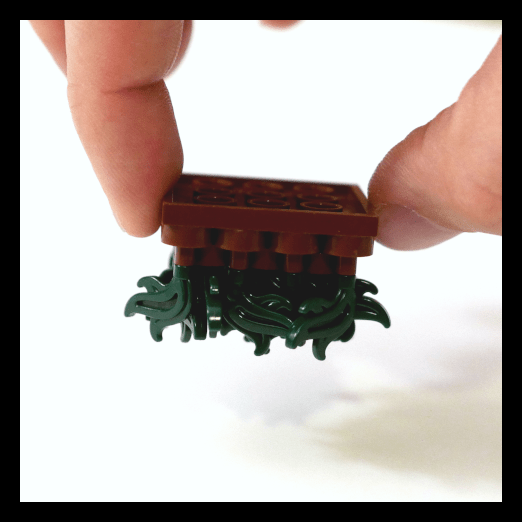
Also note that at this point all parts of the build are held firmly in place and it can be held upside down without any worries.
Hope you enjoyed the tutorial and that it might be helpful 🙂


