
Hi everyone!
This is a tutorial showing how the tooth roof technique used in my build, Element Experimentation: Roof, works. The purpose of the tutorial is not to build a complete roof, but rather to just showcase the technique so that you can then use it in whatever future build you are planning. Let’s get started! 🙂
The technique works by slotting in rows of teeth into a base, layering them on top of each other. For the demonstration we first need six sections with teeth as shown below.

These are the parts that will be slotted into the base later.
Now let’s build the base which will hold these sections. First we need to build 5 of the following simple construct.
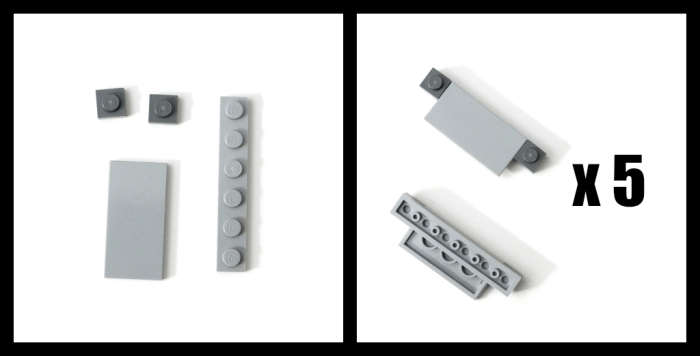
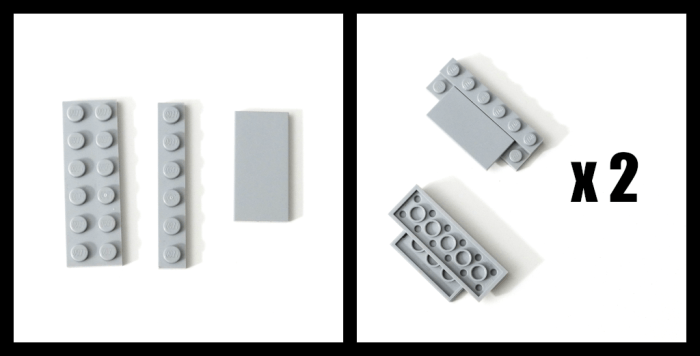
In addition we need 2 of the following.
We will now assemble these in the way shown below.
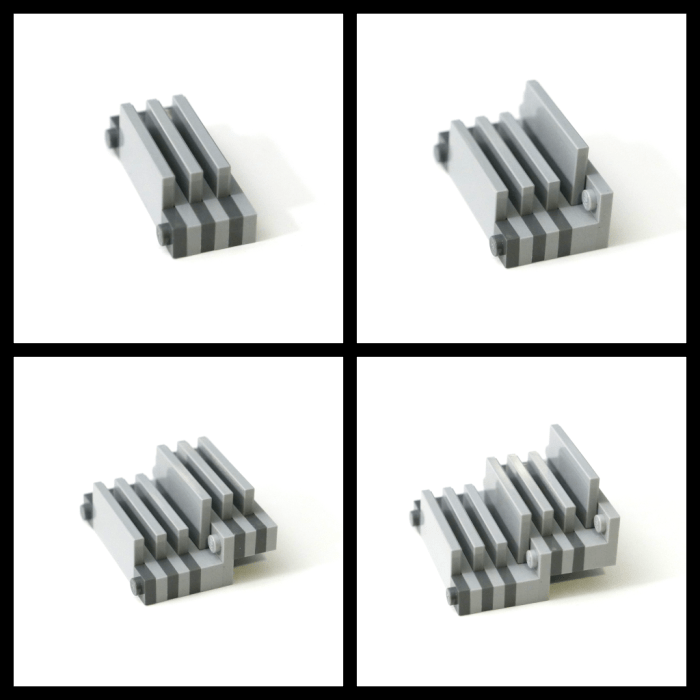
We now have the base, which is a staircase shaped construct, with three slots in each step.
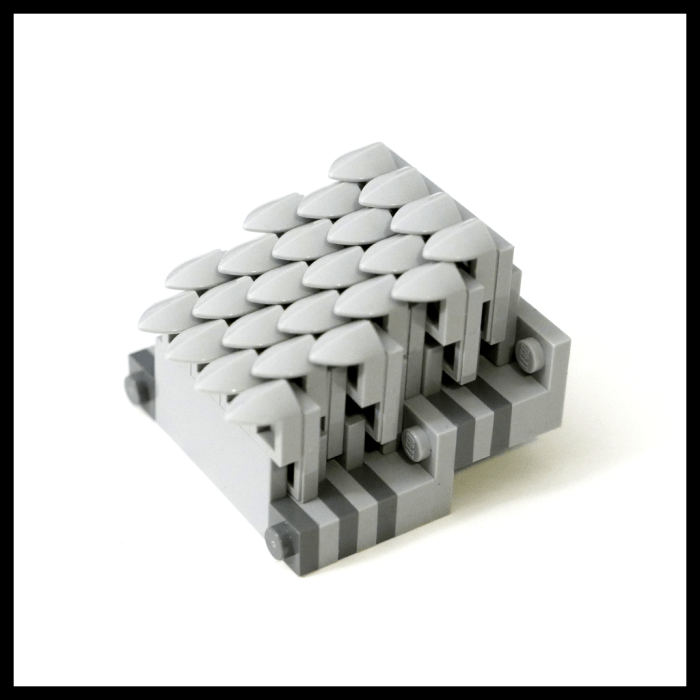
Now it’s time to fill out the slots with the tooth sections. We’ll start from the bottom by slotting one section in the first slot. We’ll then continue by slotting the next section in behind and on top of the first section. The second section will rest on the first section and it will not go all the way down into the slot.

Do note that each section should be offset half a stud sideways from the section below and above it in order to get a more snug fit.
We’ll then go ahead and slot in the rest of the sections, which will complete the pattern as seen below.
That’s pretty much it! 🙂
The technique can easily be expanded in all directions to create a roof of whatever size desired. Do also note that every third section aligns with the studs of the base, so it’s possible to connect these sections to the base, making things sturdier and preventing things from falling out. It’s not strictly necessary though, since it’s quite stable in itself.
Hope that helps, and enjoying your building! 🙂


